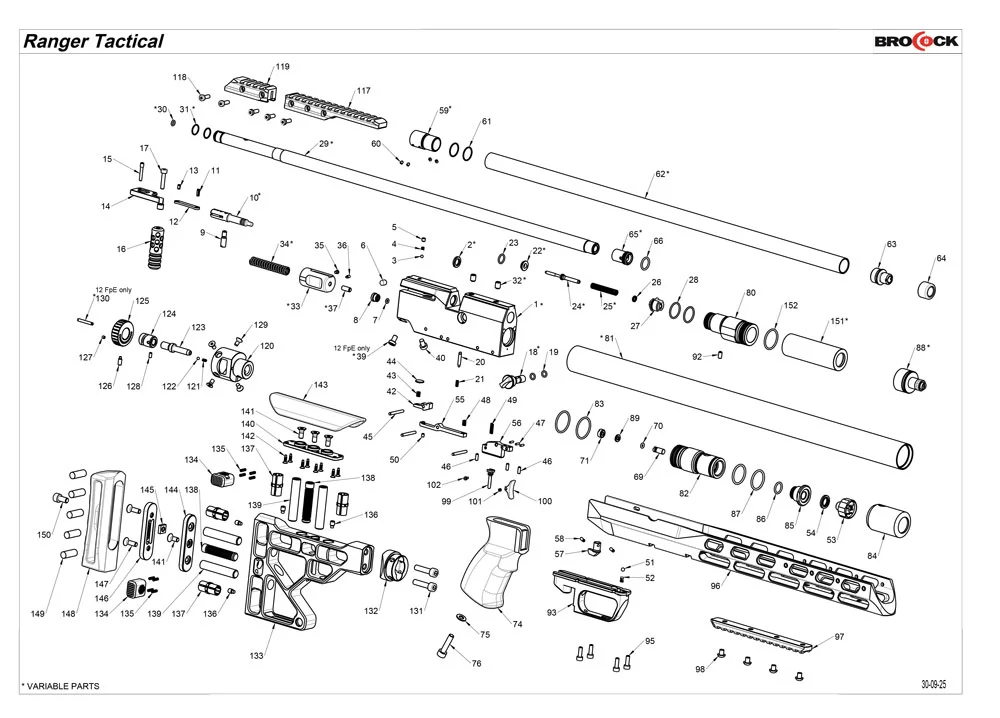
1. Safety & Initial Verification (0:25)
Before performing any operation or maintenance, always ensure the rifle is completely unloaded and pointed in a safe direction.
- Procedure: Cock the rifle and dry-fire it into a safe backstop to confirm the barrel is clear.
2. Filling the Air Reservoir (2:50)
BRK XR2 rifles operate on compressed air from an internal cylinder or bottle
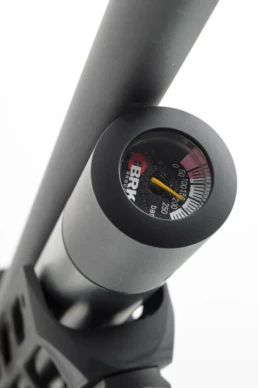
(maximum fill pressure: 250 bar). Refill sub-12 ft-lb models at ~100 bar and high-power models at ~120–150 bar to maintain consistent muzzle velocity.
-
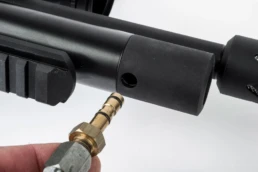
- Inspect the brass fill probe O-rings for dirt or damage.
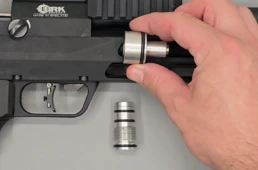
- Rotate the dust cap at the end of the cylinder to align the access hole.
- Insert the fill probe, connect to your air supply (dive cylinder, pump or compressor), and ensure the bleed screw is fully closed.
- Slowly open the valve to fill to your desired pressure (up to a maximum of 250 bar), close the supply valve, unscrew the bleed screw, and remove the probe.
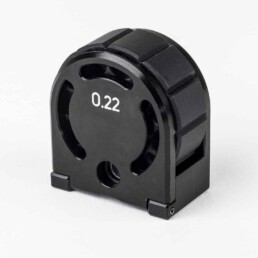
3. Pellet Selection & Magazine Loading (7:07)
Always use the recommended pellets:
UK SPECIFICATION RIFLES UP TO 12 ft/lbs (16J):
Rangemaster Kaiser
Rangemaster Sovereign*
*Factory test pellet for UK legal limit
MEDIUM POWER RIFLES 30-40 ft/lbs (42-55J):
Rangemaster Sovereign Heavy
Rangemaster King
HIGH POWER RIFLES 40-55: ft/lbs (54-75J):
Rangemaster King
Rangemaster Emperor
Rangemaster Juggernaut
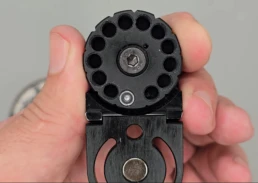
- Loading Procedure:
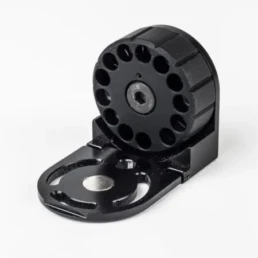
- Open the magazine faceplate using the top finger notch.
- Rotate the internal drum clockwise until it stops and hold it in place.
- Hold horizontal, and Insert a single pellet head-first into the bottom hole.
- Release the drum gently—it will stop against the pellet.
- Lay the magazine flat, and load the remaining pellet chambers and close the faceplate.
- Unloading Procedure:
-
- Open the faceplate and tip out the pellets.
- Rotate the drum slightly clockwise to release and poke out the final pellet.
4. Operation & Firing (9:04)
Always use high-quality pellets of the correct caliber (e.g. Daystate Rangemaster series) to ensure reliability and prevent jams.
- Loading & Firing:
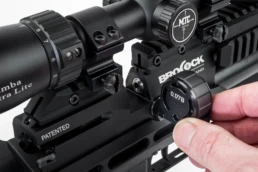
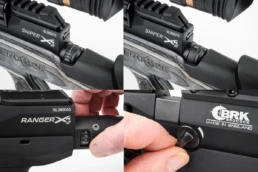
- Move the safety lever to Safe (pushed left to right).
- Pull the cocking arm back fully until it clicks, then insert the loaded magazine (or single-shot tray) from right to left until seated in its detent.
- Push the cocking arm forward to chamber a pellet.
- Disengage safety (pushed right to left) and fire.
- Decocking Without Firing:
-
- Remove the magazine/loading tray.
- Check the breech to ensure no pellet remains in the barrel.
- Switch to Fire,
- Hold the cocking lever firmly back, pull the trigger, and slowly guide the cocking lever forward.
⚠️ WARNING: Never de-cock the rifle with a pellet in the barrel. De-cocking does not unload the gun; it leaves a pellet chambered, creating a severe accidental discharge hazard.
5. Scope Mounting & Zeroing (12:01)
- Mounting & Alignment:
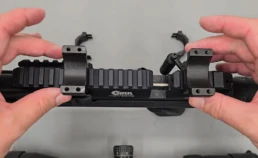
- Fit appropriate mounts (Picatinny or dovetail) to the scope rail and mount the scope loosely.
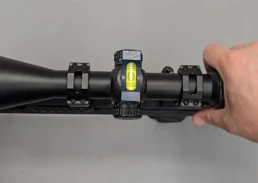
- Level the rifle using a bipod or vice, then adjust scope eye relief and crosshair alignment (or level via plumb line).
- Tighten mount ring caps evenly.
- Zeroing Process:
-
- Set up a target at 10-12 meters. Fire a test group.
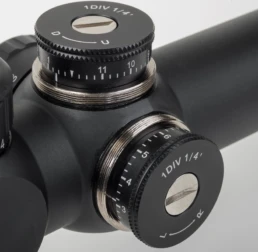
- Adjust scope turrets to shift point of impact.
- Move the target out to your final distance (e.g. 20-25 meters) and fine-tune elevation/windage.
6. External & Internal Power Adjustments (18:24)
- External Controls:
- Power Wheel (Fine Adjustment) Rotates between Min and Max settings (approx. 5–10 FPS per click).
- Transfer Port (Coarse Adjustment) Selects between Max, Medium, and Min settings (approx. 30 FPS jump per setting).
- Internal Regulator Adjustments:
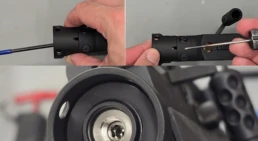
- Requires degassing (air removal) and removing the cylinder to adjust the internal regulator screw (counterclockwise increases pressure: 1/4 turn = ~20–30 bar).
- Hammer Spring Tension:
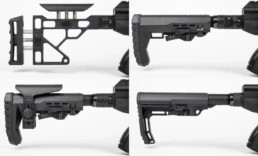
- Remove stock from the action, loosen the 1.5mm side locking grub screw, and turn the 4mm hex screw in the rear of the action (clockwise increases tension/power). Tighten locking screw when complete.
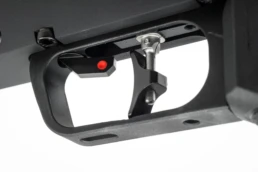
7. Trigger Mechanism Adjustment (25:47)
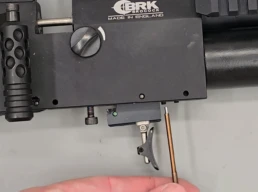
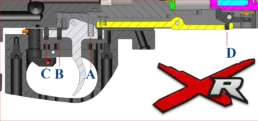
Remove the lower chassis using a 3mm Allen key to expose the four trigger grub screws (note the spring beneath the rear chassis screw).
- Safety Screw (C Front): Ensures safety engages correctly without firing risk.
- Position Screw: Adjusts trigger shoe reach forward or backward.
- First-Stage Travel (A & B Mid-Rear): Clockwise reduces first-stage travel distance.
- Second-Stage Travel (D Rearmost): Clockwise reduces second-stage creep. Avoid over-tightening or the action will fail to cock.
Warranty
BRK Brocock airguns come with a three-year guarantee against faulty parts and labour for a period of three years from date of purchase.
After this period it is recommended that the rifle be returned to BRK Brocock (or its authorized agent) for a scheduled service and subsequently every three years. Servicing is charged at current rates. The warranty applies to the first purchase of a new rifle and is not transferable to subsequent owners.
Warranty Registration
Please use the online form to register your new BRK Brocock airgun.